


Table of contents

No headings in the article.
Google Cloud Storage (GCS) is a great place to host your website’s assets, including images, video, and more. Besides, if you ever need a quick way to host a simple static website, GCS is the way to go as it is faster, cheaper, and easy to maintain.
By default upon accessing any of the buckets in your GCS with Google’s domain (storage.googleapis.com/<bucket-name>), it is SSL enabled. But when you want to access the bucket with your custom domain, GCS doesn’t enable SSL for you. Thus, we need to get creative to configure SSL on our custom domain.
There are 2 ways to go around this problem. One is using Google Load Balance, which allows us to terminate SSL handshake on any incoming traffic. But one caveat with this is Google Load Balancer starts at about $18/month 😰 Damn, I am not about to spend 18 bucks every month just so I can run an HTTPS custom domain on my website’s asset. Clearly, there must be a better way to do this.
The second option is by routing all traffic with Cloudflare. There are many advantages to using Cloudflare, including performance boost, better security, and more. (I swear this is not sponsored — just want to share how awesome Cloudflare is and I personally love it). By default, all traffic through Cloudflare is secured with the free SSL. And guess what, all these are included in their free tier 🥳
Now, the how?
- First head over Cloudflare and create an account.
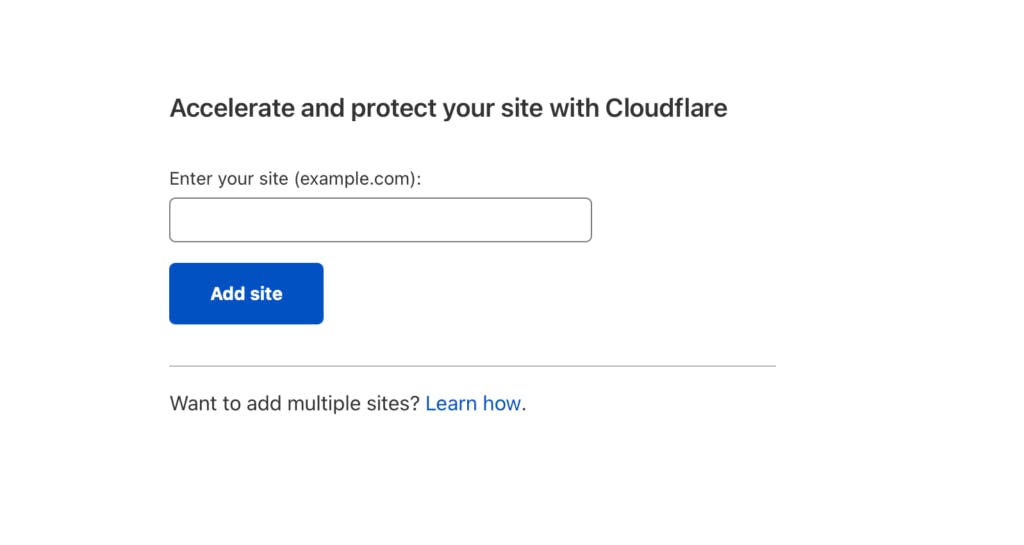
Add in your website domain and click “Add site”.
Select the free tier plan at the bottom and click “Continue”
- It should start scanning DNS records available on your domain. Once done, click “Continue”
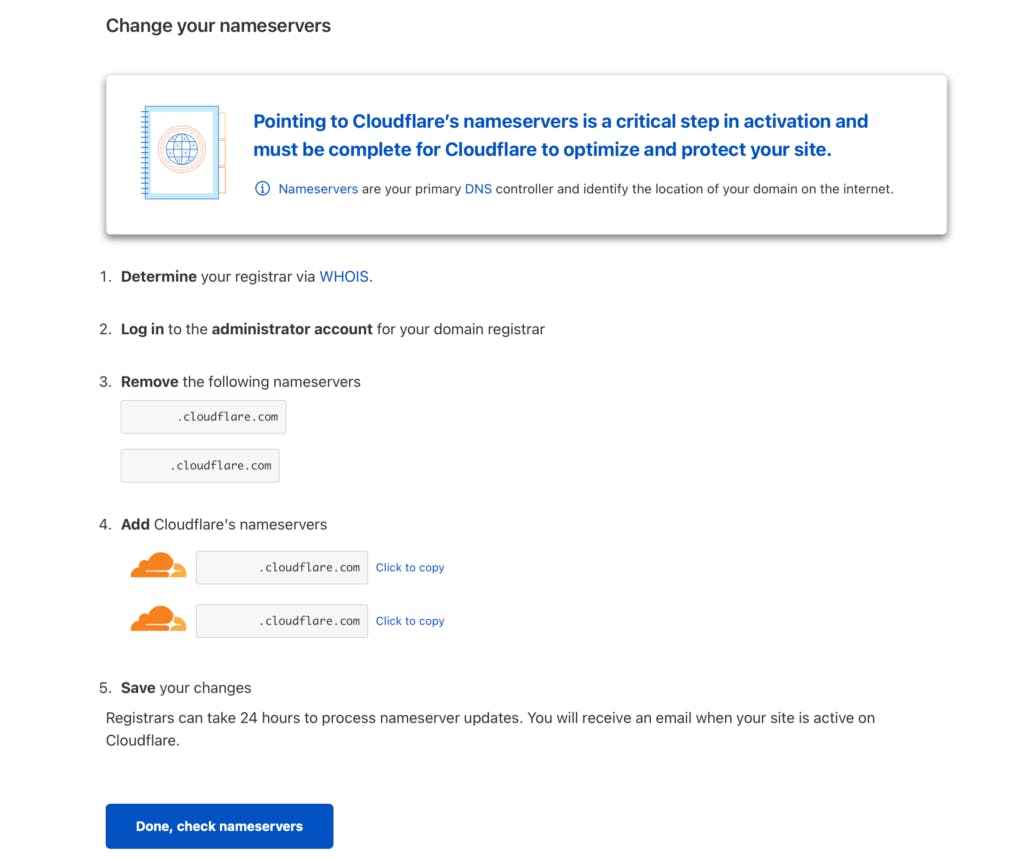
Change the name server of your domain to Cloudflare at your domain registrar. By changing the name server, you will route all traffics to go through Cloudflare’s network instead. Once done, click “Done, check nameservers”
This might take some time before the DNS gets updated. But once it is done, you should be able to see your site status becomes active at the dashboard.
Voila! You have fully transferred your site to utilize Cloudflare’s network. Now the part to point your custom domain to GCS bucket.
Now in Cloudflare dashboard, click into your site and select DNS tab.

Click “Add record” and add a CNAME type record where you want to serve your GCS content. Once added, it might take some time before the DNS gets updated. So give it a few minutes. Once ready, you should be able to access the GCS bucket. The below example is serving GCS content with a sub-domain. So accessing image.thevaultpress.com will serve GCS bucket content.

You might realize that the connection is not secure and the browser might throw an error page stating there is an SSL certification mismatch. There is still a little more tweaking needed.
While you can serve your content through HTTPS using direct URI’s such as storage.googleapis.com/my-bucket/my-object, when hosting a static website using a CNAME redirect, Cloud Storage only supports HTTP. To serve your content through a custom domain over SSL, set up a load balancer, use a third-party Content Delivery Network with Cloud Storage, or serve your static website content from Firebase Hosting instead of Cloud Storage.
Apparently, DNS redirect feature on c.storage.googleapis.com does not work for HTTPS addresses, it is a HTTP-only traffic. We might need a specific settings to specifically handle this.
Select the Rules tab at the top (Cloudflare dashboard).
Click “Create Page Rule”
Enter the url that you be pointing to GCS. In this example, I be pointing image.thevaultpress.com to GCS.
Under settings search for and select “SSL”
Under SSL settings, select “Flexible”.
It should look something like this after following the above configurations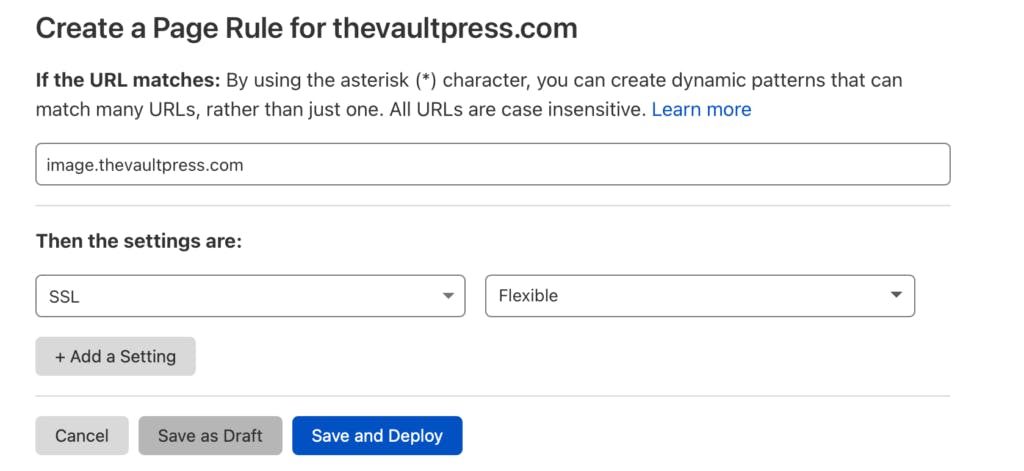
If all looks good, then click “Save and Deploy”. Do give it a few minutes for the SSL settings to be applied.
BOOM 🙌
Now your connection is secured and no error is being thrown by the browser. No doubt this requires slightly more steps to configure, but if you want to save some bucks every month, this is the way!